


The device list is the starting point for Remote Mouse & Keyboard. Open a saved device to use its controls, or choose Add Device to connect another one.
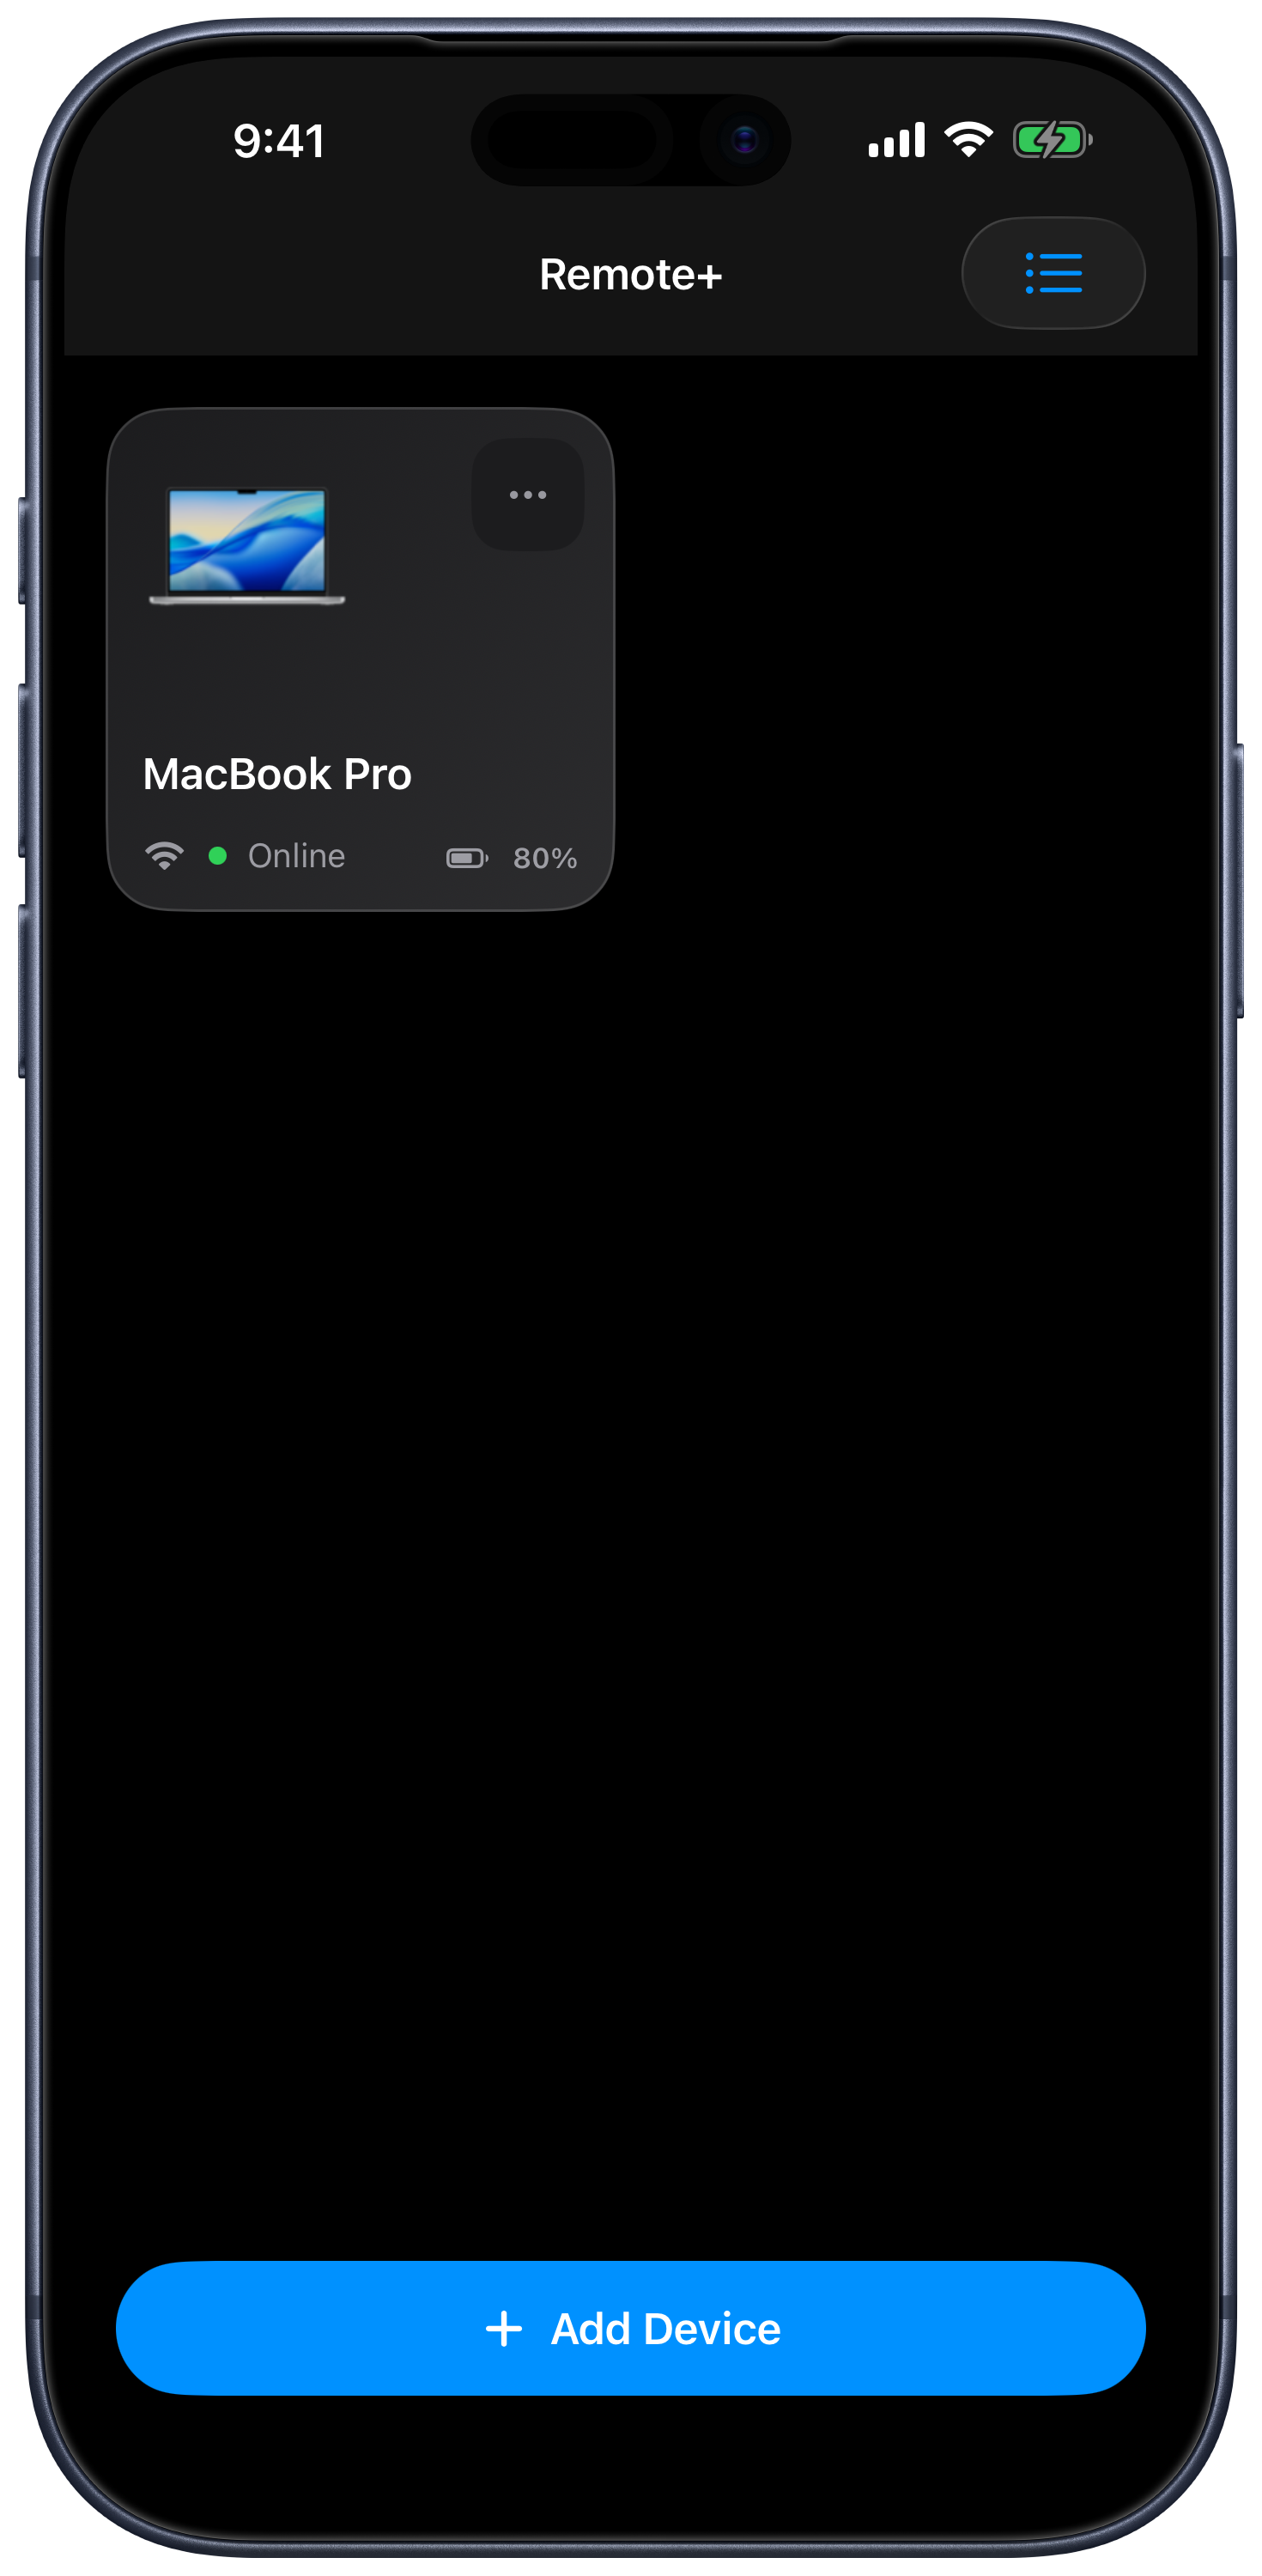
Add a Device
- Choose Add Device and select Apple Mac, Windows PC, iPad, or your TV platform.
- Follow the setup checklist and discovery or pairing instructions.
- If your onboarding choices limit the visible device types, choose Show All.
Mac and Windows need Remote Helper and a shared network. TVs use their platform pairing flow. Controlling another iPad uses Bluetooth and the app on both devices.
Choose a Default Device
Open a device’s More menu, or hold its card, and choose Default. The star marks your default device. Choose Default again to clear it. The app can open the default automatically; it can also restore the device and tab from your previous session.
Organize Devices into Rooms
- Open a device’s menu and choose Assign to Room.
- Select a suggested room or enter your own room name, then tap Save.
- Use Change Room to move it later, or Remove from Room to clear the assignment.
Devices assigned to the same room are grouped together in the list. Reorder device cards by dragging them; accessibility actions also provide Move Earlier and Move Later where available.
Reconnect or Wake a Computer
Open a computer to reconnect. For an offline device with a saved network hardware address, the menu offers Wake. Wake-on-LAN depends on the computer, network adapter, power settings, and local network; it is not a universal power-on switch.
If discovery fails, use Scan QR Code or Manual IP:port. A saved device still needs to be reachable to receive commands.
Remove a Device
Choose Remove from the device menu to remove that saved device. This does not uninstall Remote Helper or revoke access in the helper’s own device permissions. Pair it again through Add Device if you need it later.
For appearance, Bluetooth Discovery, and Live Activity options, see Settings.